


Sign up for the Makedo newsletter
Save 10% on your first order and hear about project ideas, new products, special offers, and lots of making tips. Only fun stuff.

Find a large box that has enough space for a child to sit in. Fruit or vegetable boxes are perfect for this. Not only are they super strong, they are also just the right size for a child...and there may still be room for a few soft-toy buddies!

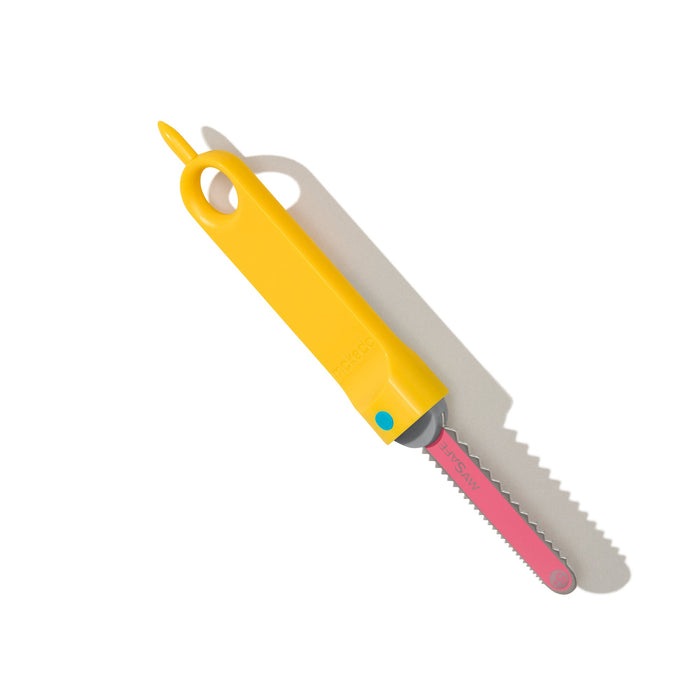
Take your medium sized box, and open it out completely. Here we start by cutting the tape, and then using the Safe-Saw each section is separated where they are joined at the corners.
Put these panels of cardboard aside, we will be using them soon!
 |
 |
 |
 |
Start with one of the larger panels from your medium box, and mark a line through the center using your Fold-Roller.
Note: Be sure to make the line in the same direction as the flutes in the cardboard.
Next, use your Safe-Saw to cut along this line.
 |
 |
The shape of the wing will be made by creating 3x folds in this panel. Each box is different, but note that here we are actually using one of the folds from the box (for this example, it is the first of the 3x folds).
Start by making the first two folds only, the third fold will follow in the next step.
 |
 |
Fold the second fold line, and then again at the first fold line. The goal is to create a 90-degree angle as shown in the image below.
 |
 |
Bend at the second fold so that the surface angles down towards the larger wing section. Note where the third fold will be made.
Open out the section, and flip over to create a fold line with your Fold-Roller.
Then, flip back to the original position and recreate the 90-degree corner. With the third fold line added, you can now create the final shape for the wing support.
Secure in place with a single Scru.
 |
 |
 |
 |
Use your Fold-Roller to score a fold line on an angle as shown. This will allow you to make a classic wing profile.
Fold over and secure in place with a Scru.
 |
 |
 |
 |
Your first wing is now complete.
Repeat the process, ensuring to mirror the angle so that there will be a matching wing for each side of the plane.
Depending on the box that you used, there may be a fold in the cardboard that makes the wing floppy.
To fix this we can add a thin flap (just like on a real plane!) across the back of the wing.
First make 2x small cuts on an angle as shown. Then use the Fold-Roller to make a fold line joining the two cuts.
Fold up the flap and you'll now have a strong, rigid wing.


Grab the smaller panel from your medium box, and cut it in half in the same direction as the cardboard flutes.
On one of the halves, mark out two angled cutting lines as shown. Can you see the tail shape yet?
 |
 |
Use your Safe-Saw to carefully cut out the tail profile. In our example, we used one of the fold lines from the box as a part of the cutting line.
This is what your tail section should look like. Next, we will make two flaps that can be used to secure the tail to the main box. These have been marked in white.

Use your Fold-Roller to mark out the flaps, and then a small line through the center to separate them.
Fold each flap in opposite directions.
 |
 |
 |
 |

Start with a small square.
From the other half of the smaller panel, cut a small square. Both tail wings will come from this piece.
The wing shapes are created by marking out a cutting line with the Fold-Roller as shown. Use your Safe-Saw to cut along this line.
 |
 |
 |
 |
Score a fold line using the Fold-Roller parallel with the thicker end of the wings.
Fold along the line to create a flap that can be used to attach the wings to the tail section.
Connect your wings to the tail section, using 2x Scrus. In our example, we attached the Scrus from different directions. You can see that we have also positioned the flap over the original fold line from the box. This ensures the tail section will stay upright, nice and straight.
 |
 |
 |
 |
 |
 |
Using the two flaps created earlier, connect the assembled tail section to the back of your large box.
Attach with a single Scru on each flap, one folded to the right and one folded to the left.
 |
 |
Hold your two wings in place to see where you would like them to go.
We thought our plane looked good with the wings positioned slightly towards the front, level with the top of the box.
Once you are sure of the location, attach each wing with 2x Scrus.
 |
 |
 |
 |
The nose section is made from the remaining large panel that we cut out earlier.
A fold line is created near one of the shorter ends, and then connected to the underneath at the front of the plane. It's easier to do this if the plane is flipped over - just be sure to protect the tail by hanging it over the edge of your work area.
 |
 |
We're using the folds that were already in the cardboard for the front of the nose.
This flat section needs to be nice and vertical, because this is where the propellor will be attached.
Once you have the right angle, mark a line with your Fold-Roller, fold the other end over and attach to the inside of your large box as shown.
 |
 |
Cut off the corners with your Safe-Saw to make a more aerodynamic shape.
Be sure to leave enough of the flat section at the front for your propellor to attach to.
 |
 |
You can cut a propellor shape out of cardboard, or like we have done here, use a paper tube.
Squish the tube at the center, and then attach to the nose of your plane with a single Scru.
 |
 |

For most makers, this will complete the cardboard plane. Well done, you are ready to take off!
We wish you safe travels, as you head off on many adventures in your cardboard Makedo plane.
For those who would like to go one step further...we do have one more trick up our sleeve to keep your propellor spinning.
Did you notice that when connected just with a single Scru, the propellor unwinds when it spins around?
The Makedo Roto-Ring is a neat way to fix this!
 |
 |
To install the Roto-Ring, first remove the Scru from the propellor.
Press the Roto-Ring firmly into the paper tube to mark a ring of dimples on the cardboard surface.
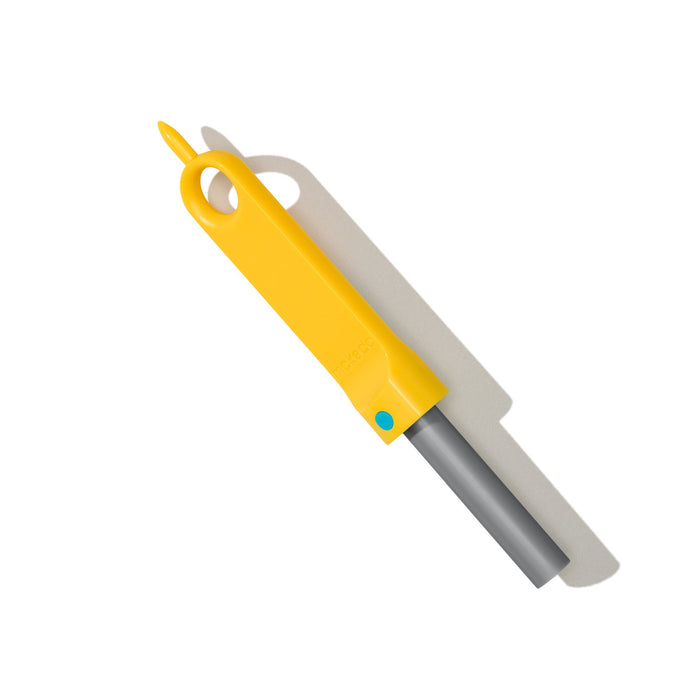
Next, punch holes around this circle using your Scru-Driver.
 |
 |
Congratulations, your plane (with its free-spinning propellor) is complete.
Where will you fly to? Who will be joining you on these adventures?

| ← Previous post | Next post → |
Makedo is a simple to use open-ended system of tools for creative cardboard construction. Build imaginative creations from upcycled (repurposed) everyday cardboard.
Follow us

