


How to make a cardboard helicopter

What you'll need
- Scru-Driver Explore the range
- Fold-Roller Explore the range
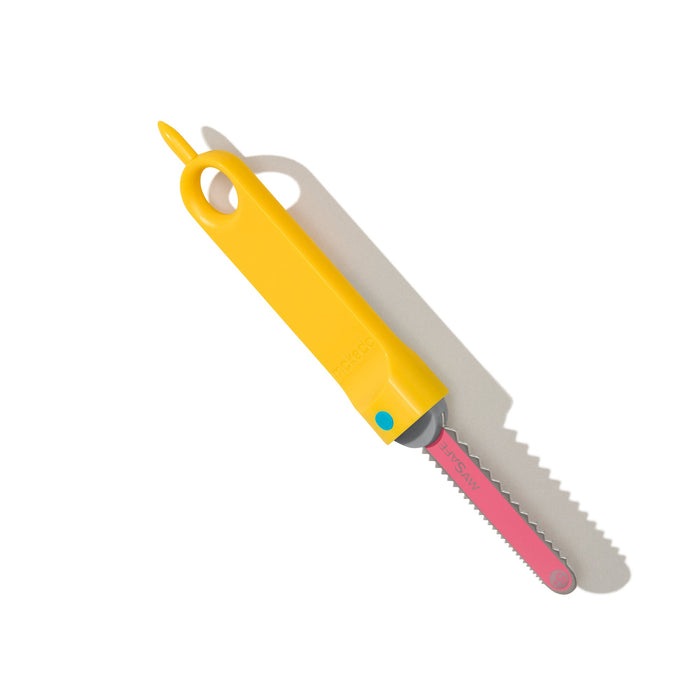
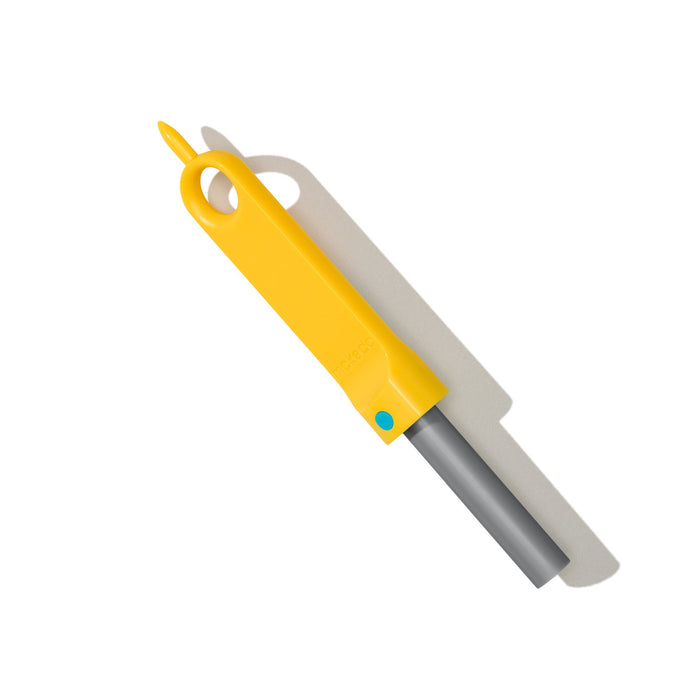
- Safe-Saw Explore the range
- 50x Scrus or Scru+ Explore the range
- Roto-Ring Explore the range
- Upcycled cardboard
Instructions
Take a look at this amazing cardboard helicopter with rotating rotors, made with Makedo! The lovely folks at @spirefamilylife were kind enough to explain how they made this step-by-step, so let’s fly right into it.
Step 1
Start with a large, shallow box as the floor of your helicopter — we used a hexagon-shaped box. Attach large sheets of cardboard to create the walls, attaching with Scrus only halfway up to allow flexibility for folding the tops later. Leave a small opening at one end for the tail rotor.
Step 2
Fold and shape the tops of the walls into a dome-like structure, securing them with Scrus as you go. Use additional cardboard to cover the roof, filling gaps and creating a smooth surface for the main rotor.
Step 3
Use the Fold-Roller to sculpt cardboard and form the tail section, aligning it with the opening you formed in step 1. Secure the tail in place with Scrus.

Step 4
Cut a large opening at the front of the helicopter to act as both the window and entry point.
Step 5
Cut helicopter blades from cardboard. Secure a box or additional cardboard to the top of your helicopter to elevate and stabilise the rotors. Use Roto-Rings to assemble the rotors, allowing them to spin smoothly.

Time to take off!
Your cardboard helicopter is ready to go! Take flight into imaginative play, and be sure to tag @makedo if you post your own creation to socials. We love seeing your creations!

